


Open an image, place editable text on its canvas, and export a finished picture. Follow the real example below, then adapt it to your own source. Open Add Text to Image.
Open the source image
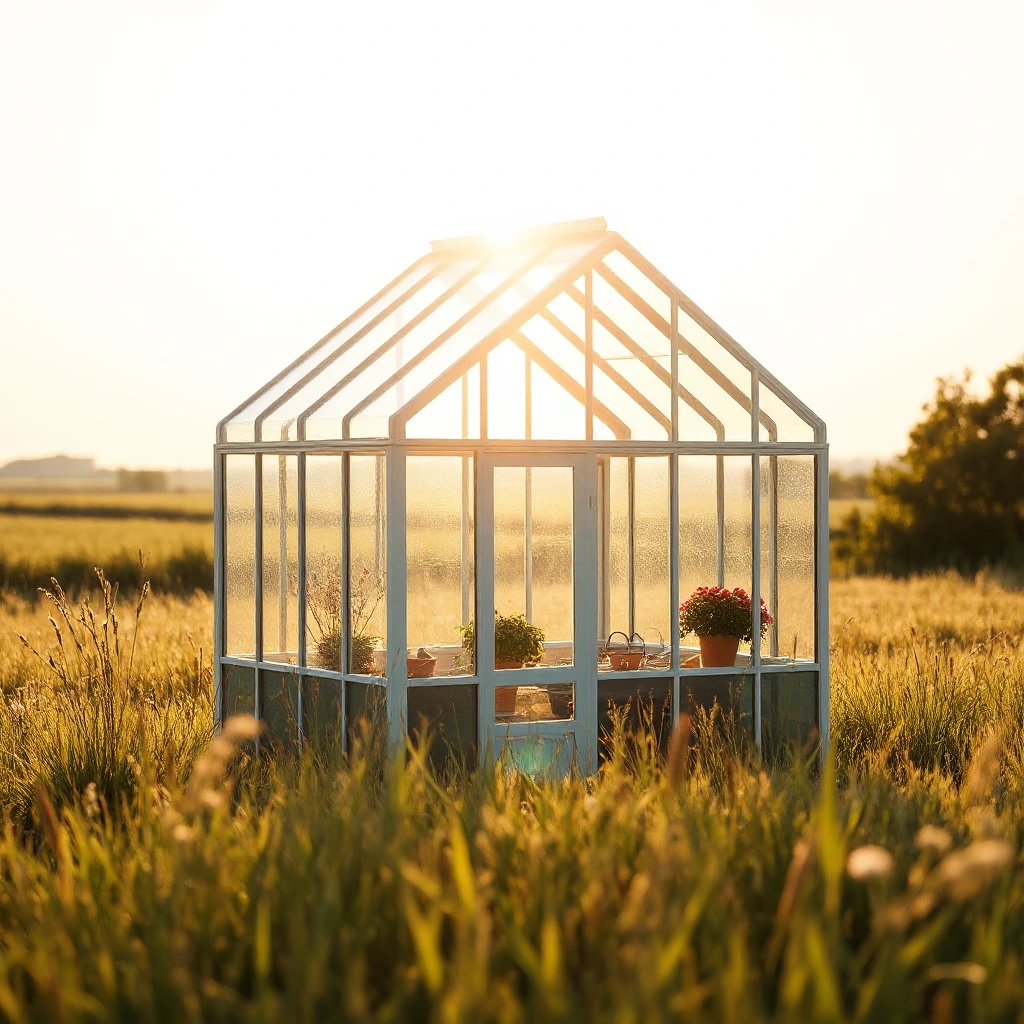
Open Add Text to Image and upload the source image shown in the comparison. The downloaded result is saved separately from that original.
Maximum input size: 25 MB. One image per run. Large dimensions can be limited by browser memory.
Canvas editing and the final image export run in the browser. Preview preparation may use the server if the source cannot be decoded locally, including some HEIC files. The downloaded file is separate from the original.
Make the visible edit
Replaced the default centered text overlay with Morning light. Kept the initial placement, font and blue text color.
Add a text layer and replace its starter wording. Adjust the available font, size, color and style controls, then apply the text. Use a short caption and enough contrast against the image so the result stays readable at the final display size.
The example in this guide
Verified in the i2TEXT browser workflow on November 11, 2026.
- Input
- greenhouse.png
- Output
- i2text-greenhouse.png
- Saved result
- 1746777 bytes
Review the composition
Select the text layer and use its handles to arrange it within the image. Keep important wording away from edges that may be cropped later. Undo and redo let you revise the placement; the editor also provides image editing tools when the background needs an adjustment.
Check the finished image at its intended display size. The before and after comparison shows the actual source and the downloaded edit from this session.
Export a finished picture
Select PNG for the recorded example, then Start. Download i2text-greenhouse.png from the result page and inspect the saved image.
Text is flattened into pixels when exported. Keep the current editing session open until you are satisfied, and check small captions at the intended display size. JPG does not preserve transparency.
greenhouse.pngi2text-greenhouse.png
Common questions
Can I reopen the exported file with editable layers?
Text is flattened into pixels when exported. Keep the current editing session open until you are satisfied, and check small captions at the intended display size. JPG does not preserve transparency.
Which input and output formats are supported?
One JPG, JPEG, PNG, WebP or HEIC image. Output: PNG, JPG or WebP image.
Does the export change my original file?
Canvas editing and the final image export run in the browser. Preview preparation may use the server if the source cannot be decoded locally, including some HEIC files. The downloaded file is separate from the original.
Try Add Text to Image with your own source.
Use your own source and review the result before sharing.